Saturday, November 16, 2013

Tailor Swift


Last night I sewed in a super fun and unique event! The event was called Tailor Swift and was held at the Museum of Contemporary Art in Downtown Denver. It was part of the series called Black Sheep Fridays.


Tailor Swift was all about listening to Taylor Swift songs sung by a live band while tailors hemmed pants. The tailors were Sadie, Tina, Miranda, and myself. We hemmed pants to make them shorter, let out original hems to make pants longer, repositioned buttons, made buttonholes, mended holes, and restitched loose hems.

Tailors: Sadie, Tina, Miranda, Claudia
The hemming we did was a good variety of what most people end up needing done with their clothes. The skills required to hem and mend aren't too difficult and can be easily done if you know how to sew by hand or machine. If you don't know how to sew, let me recommend you take a sewing class from Sew You Studio or Fancy Tiger Crafts and you'll be a swift tailor in no time!

Friday, November 15, 2013

HANDMADE: Halloween Costumes, October 2013

Since Halloween (All Hallow's Eve) is the eve of All Saints Day, our school requests that the kids dress up in a costume that represents a saint or angel. JP was Saint Juan Diego. (His older sisters went on field trips that day so they didn't wear saint costumes.)


For the Saint Juan Diego costume he wore: karate pants, a white shirt, and a tilma (cape) with a drawing of the Virgen of Guadalupe that he drew himself. I made the tilma from a 1/2 yard of fabric. I cut a placket for the neckhole in the center of the 1/2 yard and overlocked the raw edges along the outside. We also hot-glued silk roses to the tilma.

For trick-or-treating, there was a mechanic (I called him "Mister Mechanic-o"), a construction worker, a 1950's sock hop girl, and Shirley Temple.

I didn't have much time or focus for sewing costumes this year. The kids were all okay with putting something together with what we already had or what we could find at the thrift store. I did make the jumpsuit for Mister Mechanic-o because it has been on my to-sew list since last spring when I found a vintage sewing pattern for it. The poodle skirt, the sailor girl jumpsuit, and the construction worker vest were thrift store finds.

Tuesday, October 15, 2013

Handmade: My Fall Time Handbag

I made myself a handbag! It's been so long since I've made a handbag and this one's been waiting to be sewn up since last May--when I bought the fabric. I like it. It makes me smile.


Pattern: BIG Handbag, designed by Claudia Miller
Fabrichome decor fabric by Mill Creek Fabrics for the exterior. Kona cotton for the lining.
Accessories: Japanese bag handles
Level: Beginner to Intermediate
Skill(s): straight seams, curved seams, patch pocket, double-welt pocket, lined handbag, hand sewn handles, hand sewing


It's a very big bag with an interior pocket, an exterior pocket, and a wide gusset that goes all the way around the bag.  It can be worn open or bunched up.


The interior pocket is divided into 3 parts and is helpful for sorting your little things, e.g. pens, gum, business cards, lip balm, prayer beads, phone. . .


The exterior pocket is a double-welt pocket and has no closure. I made it this way for easy access to my keys or my phone. It's a very handy pocket since this bag is so deep.


The handles are pre-fabricated and it's the first time I've used this type of handles. I really like them!

+/- (The good and not-so-good.)
I designed this bag myself and was inspired by a few bags I've seen online. It's so satisfying to dream up a project and then be able to create it! I am happy with the final result.

+I really like the look/design of this handbag.
+It was a simple bag to put together even with the addition of the double welt pocket and the handles.
+Handbags are a great way to sew up a project that doesn't require fitting (like garments).
+This handbag also makes for a great market or travel bag because it's big enough to hold a lot of things and pretty to boot!

-I hope to make another one but the next one will be a few inches shorter because a shorter handbag will be more practical for everyday use.
-This one is a bit too long for my liking and and has earned the name "bagzilla". Not a very pretty name for a pretty bag but a great way to describe its size!

Would you be interested in making this handbag? I'm considering putting together a pattern or teaching it as a class. Please let me know!

Friday, October 4, 2013

Indoor Gardening: Simple Process for Growing Micro Greens

Now that fall has arrived, it's time to clean up the garden and let it rest until spring. Depending on where you live, you might be able to extend the harvest season through October or even November by growing some cool weather crops. I think most of us call it quits, though.

I know I'm feeling done with gardening season but I want to try growing something fun and easy indoors: micro greens. Micro greens are a variety of lettuces, greens, vegetables, and herbs that you grow and harvest just after the plants grow their first true set of leaves and are about 3 inches tall. Micro greens add a fresh and spicy taste to a variety of dishes and are a quick add-in to salads, appetizers/hors d'ouevres, and even smoothies. They make a great garnish too!

I bought a spicy mix at my local garden center.
seeds from Botanical Interests
To grow micro greens:
Use a wide and shallow pot and fill it with potting soil and water.


Scatter the seeds evenly over the top.


Cover the seeds with more soil, about 1/8" depth.


Water again and place on your kitchen counter. You can place the pot of micro greens anywhere you wish. Since I'll be using them for cooking, I figure the kitchen countertop is best.

Within a few days, the seeds will sprout!

Wait until they grow into plants that are about 3 inches tall. Cut and enjoy.

• • • • • • • • • • • • • • • • • • • • • • • • •
I'd love to show you a picture of the happy micro greens I grew but, unfortunately, they didn't make it. The reason for the micro greens fail was because of the conditions for growing the seeds; it was too moist, too warm, and mainly, it was too sunny. Seeds thrive in moist, warm and sunny places but when they get too much of that, they can grow too fast for their own good. My plants were reaching for the light because I left them in the sun all day long and they got too tall (leggy). Their chances for success dwindled because they weren't strong enough to grow healthy.


It's a good thing I can try this easy process all over again! This time around, I'm limiting the watering and the time the seedlings spend in the sun. Making the seeds struggle a bit is good for them. These seeds grow fast and I should have edible micro greens in a couple of weeks! I hope to report back with good news.


Saturday, September 7, 2013

Me-Made-May 2013 :: what I wore (a few months late-r)

It's already September and this news is from May but I still want to write about it. . .
Back in May I decided to participate in a month-long challenge: Me-Made-May!

Each participant was asked to make a pledge to wear and make handmade items throughout the month of May. We each had to set our own personal goals for the challenge.
My pledge:
I, Claudia of Dia's Days, sign up as a participant of Me-Made-May '13. I endeavor to wear a handmade garment or accessory 2 to 3 times a week and sew one garment each week of May 2013! 


Here is a collage of the clothes/accessories I wore or made during May. 
Me-Made-May 2013 summary

I wore dresses, skirts, scarves, and tops. (My son wore a handmade superhero cape on a day I didn't wear me-made.) I made a Mathilde Blouse, a Staple Dress, a Wiksten Tank, and some scarves.

The Me-Made-May Challenge renewed my interest in garment sewing and I look forward to the cooler weather ahead so that I can spend some time sewing clothes for myself and my family!

Thursday, September 5, 2013

July at The Makerie, a one-day retreat


Have you heard of The Makerie? It's a creative event where you make things, meet fun people, and eat great food. Typically, The Makerie event is a 4 day retreat held in Boulder, Colorado but this summer they offered one day retreats.


I signed up for the July retreat entitled 
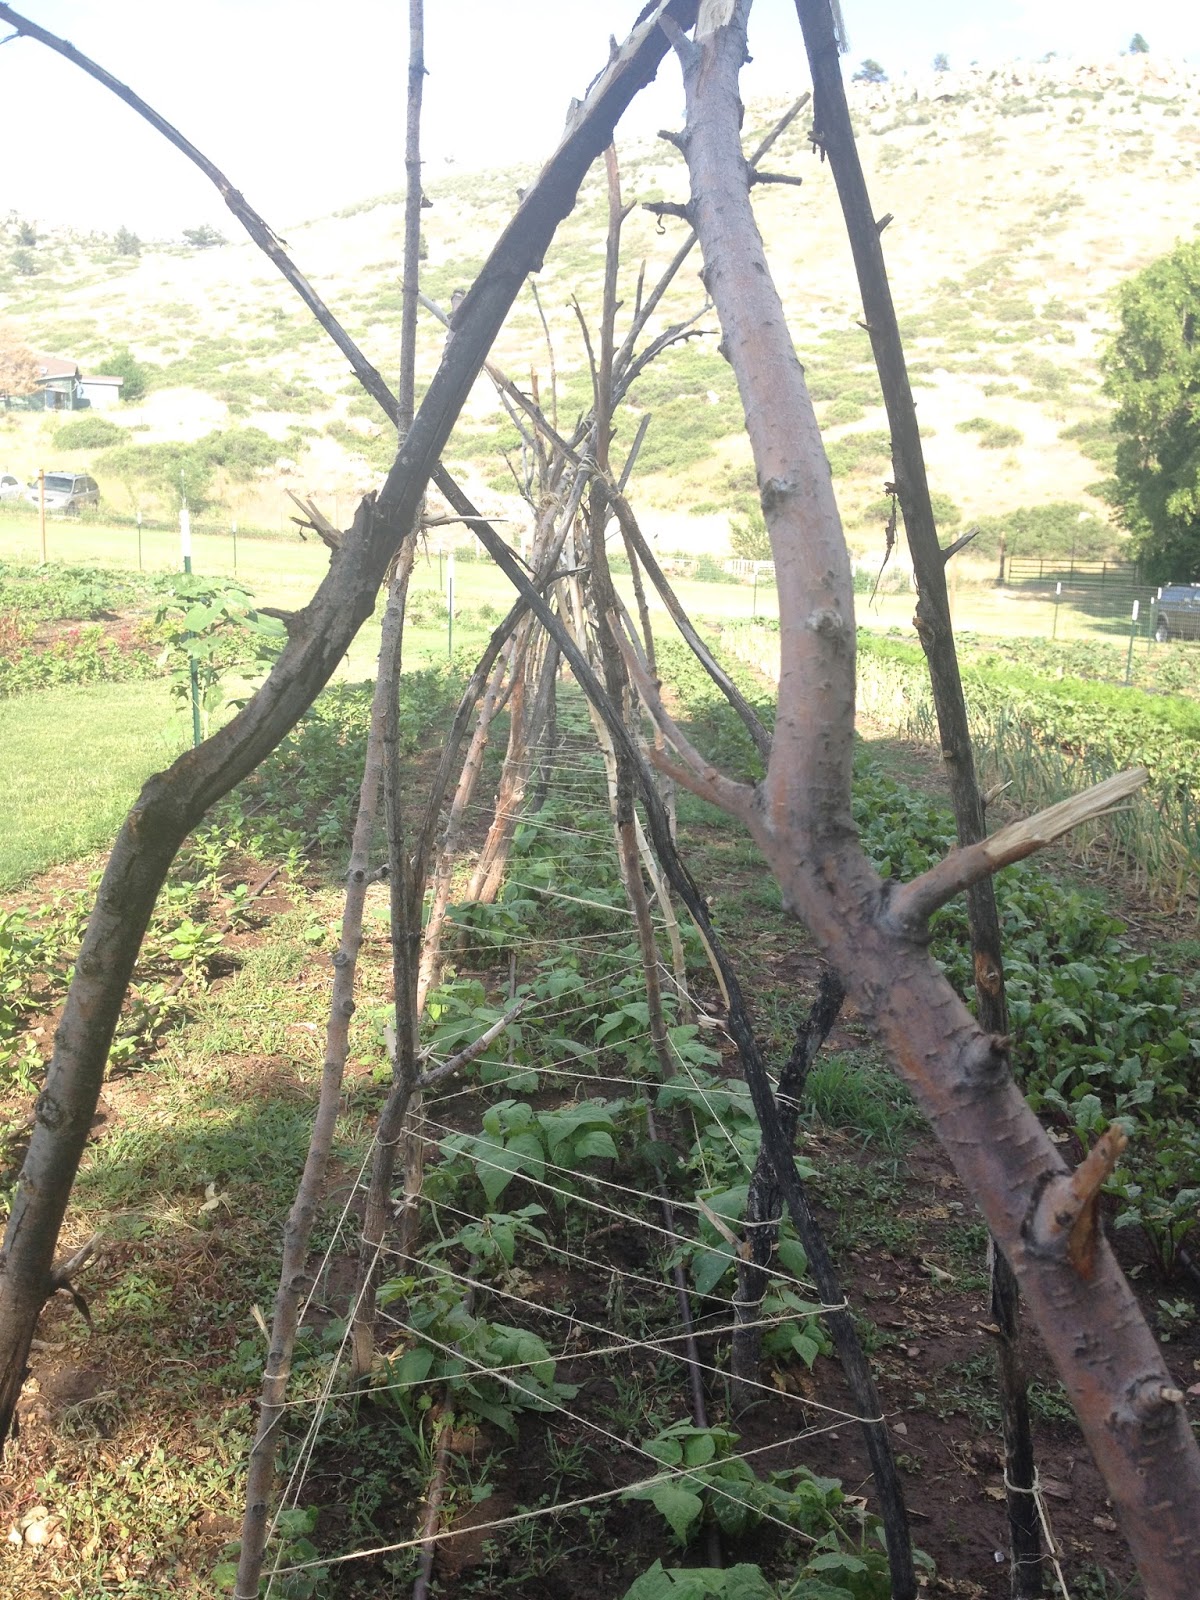
For a Gathering. We met at the Lyons Farmette in Lyons, Colorado--just north of Boulder, Colorado.


I chose to take the jewelry-making class and the letterpress workshop. The other classes that were offered were: how to make a leather clutch, a pajaki paper chandelier, and flower arranging.


Daisy Chain Jewelry Making
I've made jewelry before using beads, string, wire, jump rings. This class taught us how to saw, file, stamp, and polish our flower pieces. So much fun!

Our class was held on a bridge over a stream. A beautiful and peaceful setting for creating! I truly enjoyed this class because I learned something new! Our teacher was the lovely Shannon Sunderland of Swoon Jewelry Studios.

My finished daisy chain necklace!

Lunch
Makerie Summer Series Picnic Lunch
Photo by Teryn & Kate
We had a delicious boxed-lunch picnic on the lawn of the Farmette. 
It was prepared by Eat.


Letterpress Invitational
In the afternoon we went over to the studio of Birddog Press to learn about using a letterpress. We made a set of letterpressed cards. I chose to print a set of cards that say "Sew". Since I only have a dozen, they will be used for oh-sew-special occasions!
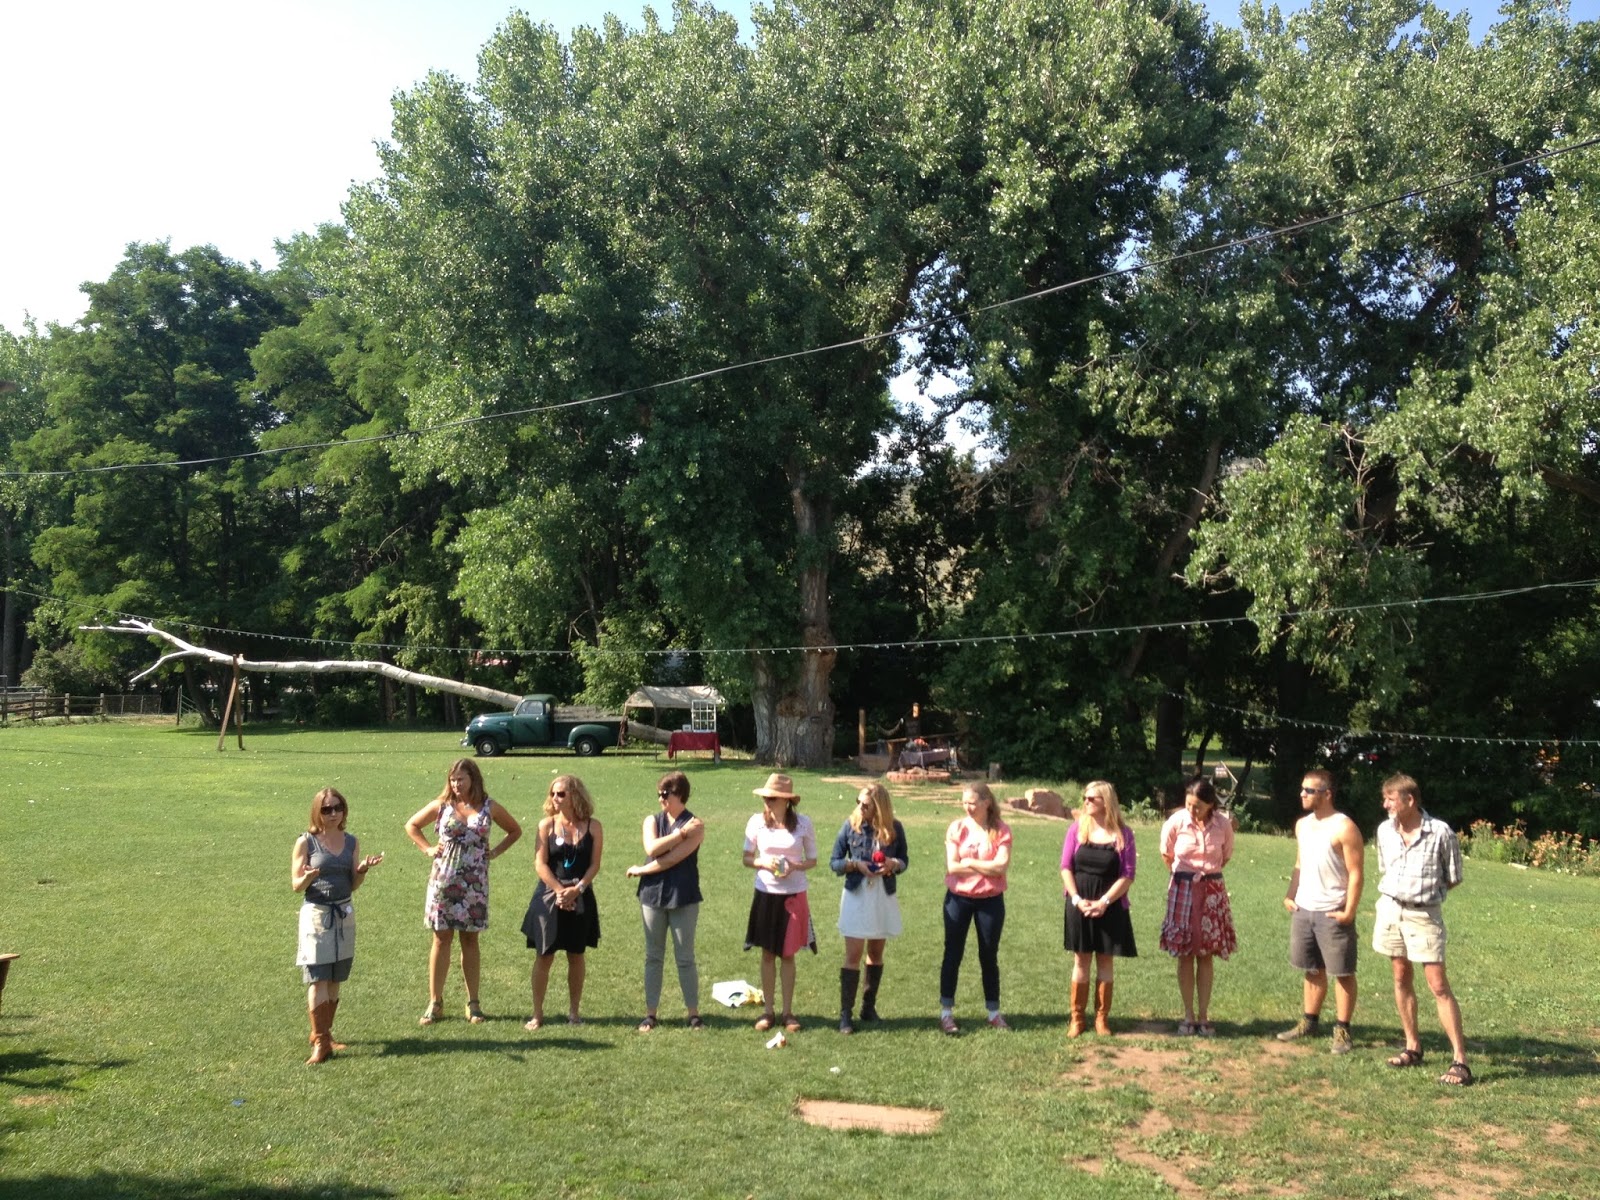


Cocktail Hour
After all the learning and creating, we mingled and had appetizers during the cocktail hour. Pizza appetizers were prepared by Crust (cooked in an amazing mobile oven) and Whole Foods sponsored a cocktail crafting class.


Dinner
For dinner, we gathered at a beautiful farm-style table. Our delicious meal was prepared by Eat and Crust using veggies from the Farmette and locally grown meat.


(I have no pictures of our meal because I was too busy socializing and eating.)

This experience was very renewing for me. I was able to learn and make things in a beautiful setting. As a mother and homemaker, getting time to myself (a whole day!) does not happen often. I'm thankful for the experience and recommend you check out The Makerie!


Wednesday, September 4, 2013

Alt NYC 2013 :: One Story at a Time :: Scenes from NYC, June 2013


After Alt NYC, I was fortunate to get to stay in NYC for a few more days! I spent time sight-seeing, shopping, and enjoying good food and music. Here are some photos of my times as a NYC tourist and my last Alt story (that took me all summer to tell!).

Friday: I spent the day with a new friend from Alt, Nycia of She Inspires, and Allison, my friend from Denver who had just moved to NYC a couple of weeks before. My husband arrived in NYC that evening. (Chelsea, Garment District, Flatiron District, West Village)

37th St, right outside of Mood!
We had to wait 45 minutes to get in because they were "filming" (Project Runway) at Mood.
We didn't get to see any of the stars, though.

Swatch, shop dog at Mood


ABC Carpet & Home
Dinner at Piccolo Angolo in West Village
The High Line


Saturday: We spent the day walking the city, eating good food, and listening to jazz. Rudy Royston, a good friend from high school, was playing that night!
(Chelsea, Greenwich Village, SoHo, Chinatown, Nolita, Union Square, West Village)

Murray's Bagels = YUM!
Where my husband lived in the early 90's--Jones St.


Tacombi at Fonda Nolita - VW taco stand

Had to go back to Tía Pol for dinner after having been there with Atly; a delicious restaurant!

Drummer - Rudy Royston


Sunday: We attended mass, did more walking, rode the subway, and packed our bags to return home. (Chelsea, Times Square, Rockefeller Center, Harlem--by accident thanks to the Sunday express subway, Central Park)


We had a fun subway adventure. . .
Adventure #1: We wanted to go from Rockefeller Center to the center of Central Park
but accidentally jumped on the express train that took us all the way to Harlem. Oops!
We didn't really get to see Harlem but we made it that far north.

Adventure #2: Here, I am coming out of the subway all by myself because a last-minute
decision to get off at 34th St didn't give my husband enough time to hop off too.
We were separated by quick-closing doors. He ended up at 23rd St and we met up at the hotel.
Now we have a fun story to tell!  
Heading to the airport.
Goodbye, NYC. Until next time!